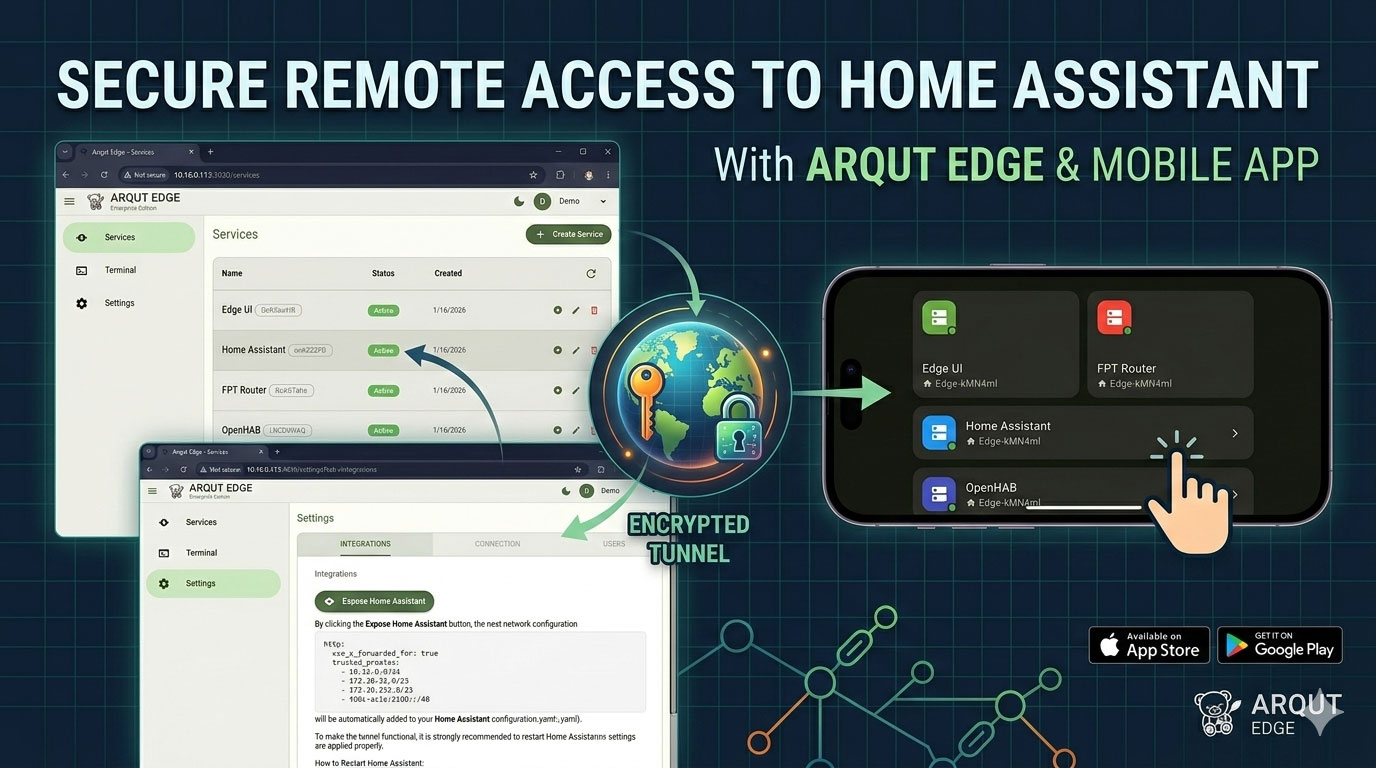
Smart Home Notifications: Integrating Arqut with Home Assistant
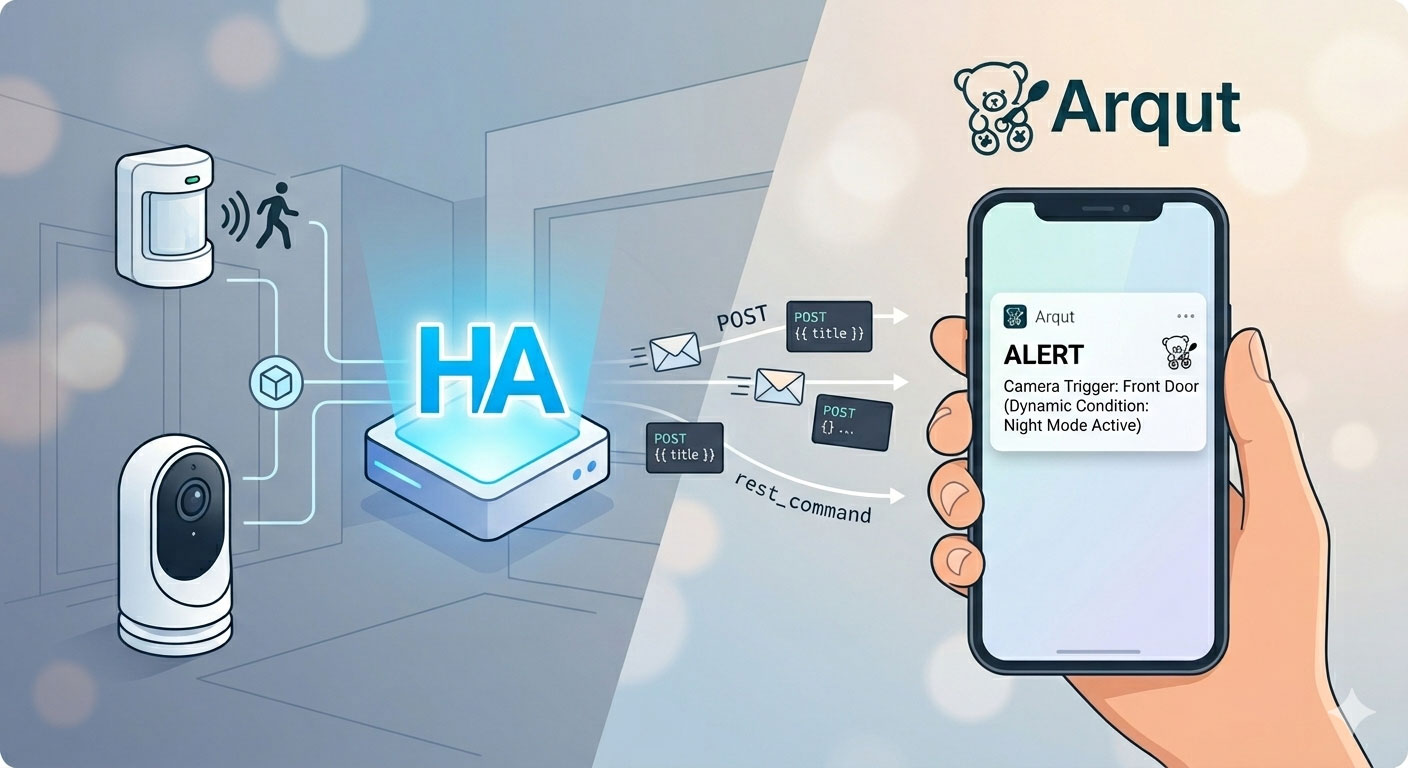
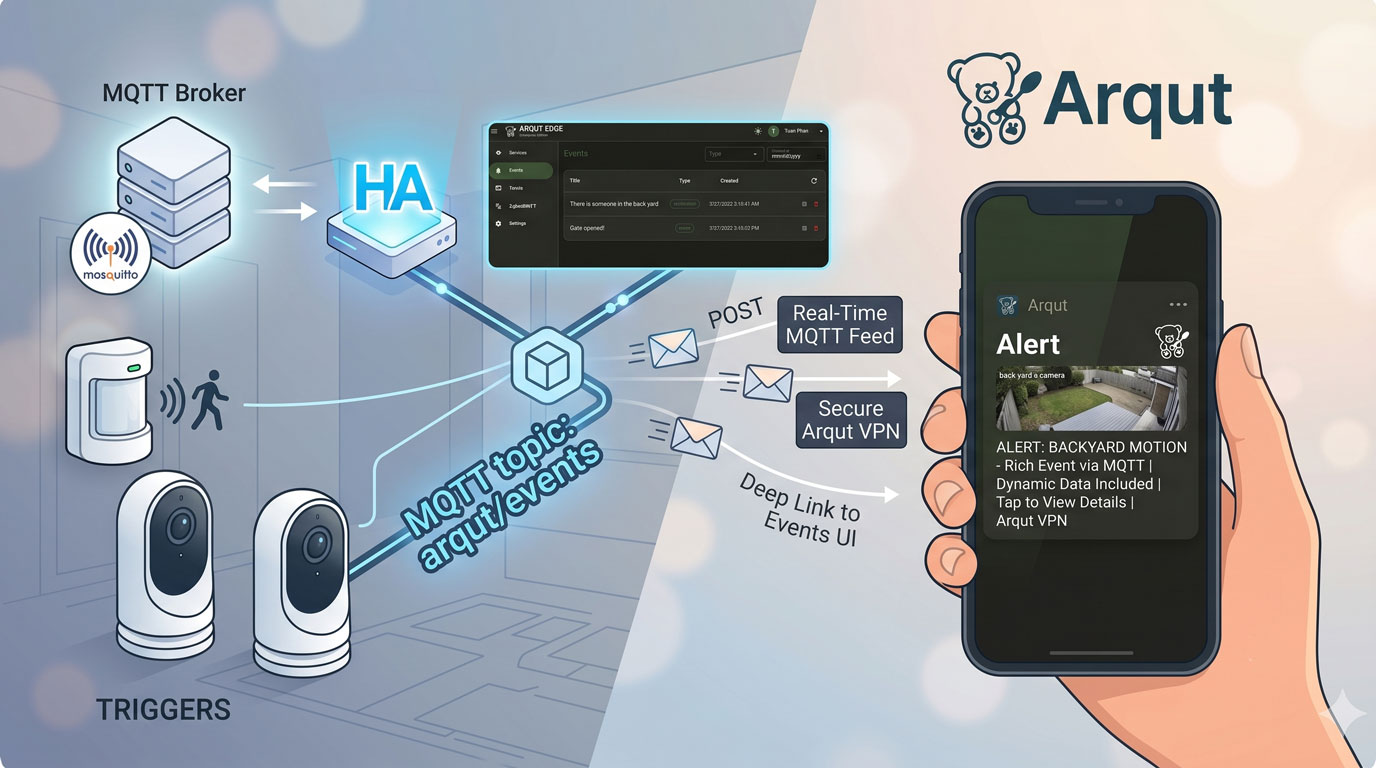
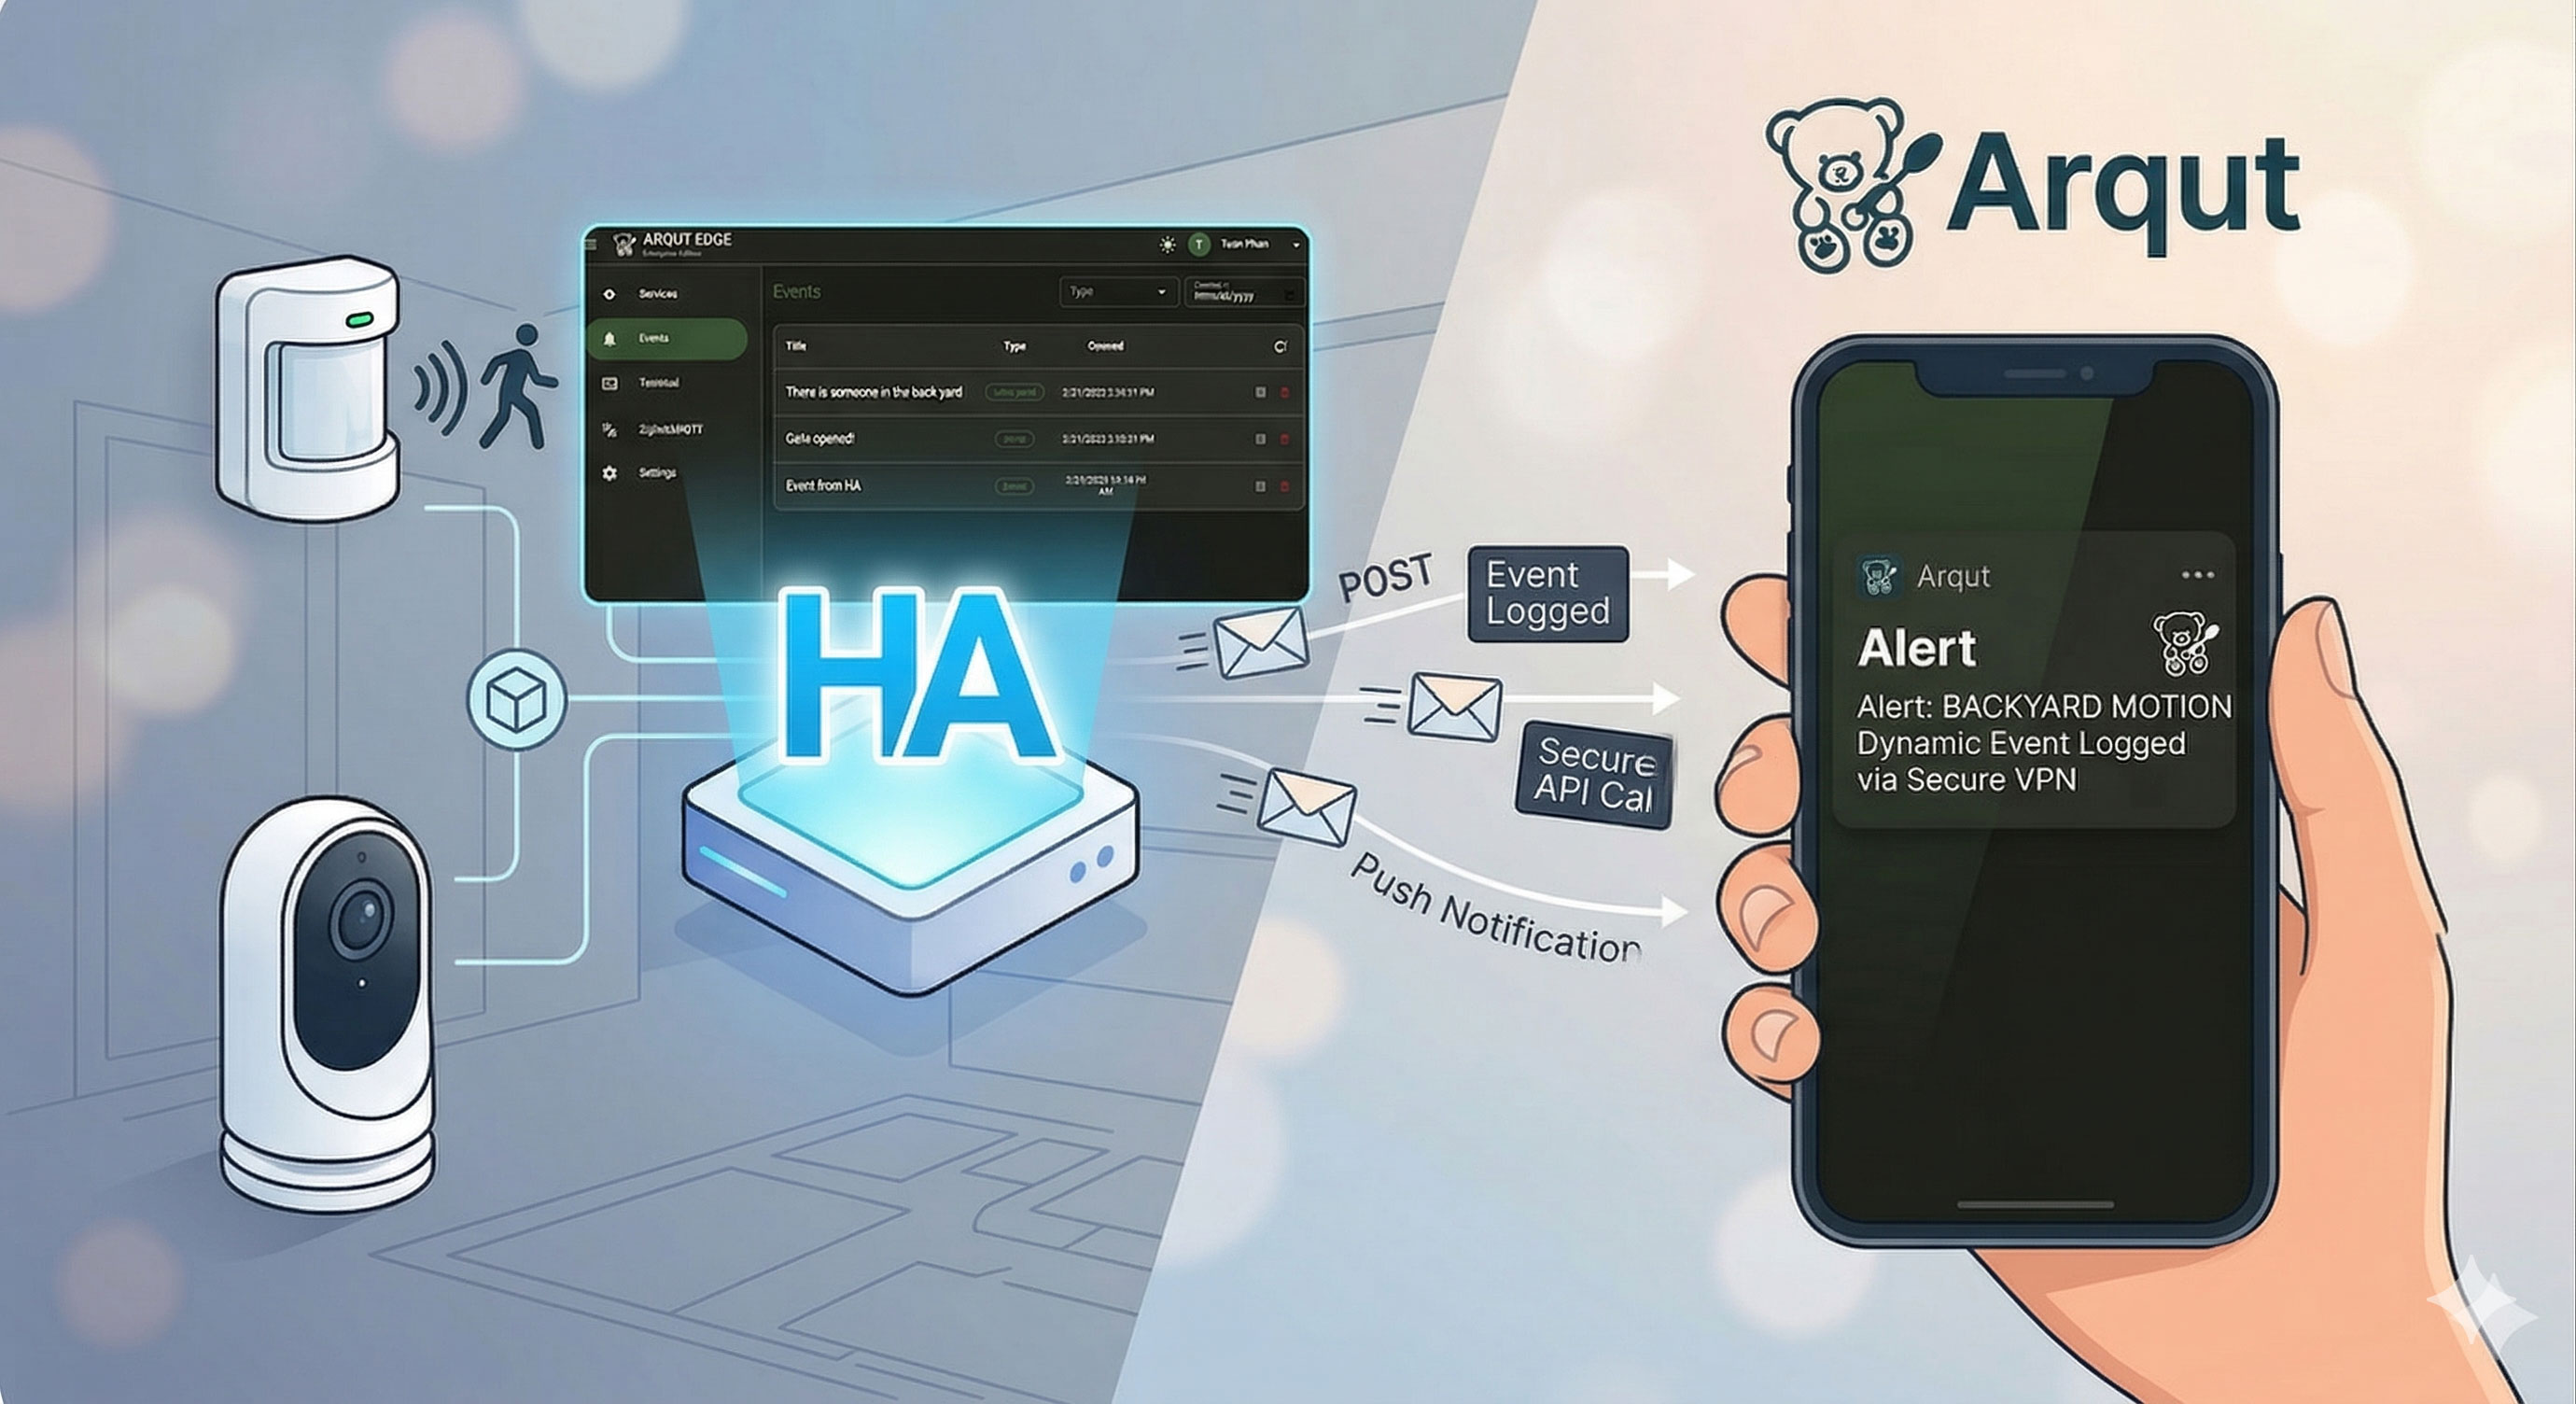
Automating your home is only half the battle; knowing what is happening in real-time is what makes a home truly “smart.” While Home Assistant has a native companion app, many users prefer third-party notification engines like Arqut for its specific delivery features or multi-user management.
In this guide, we will walk through setting up the Arqut REST command and building automations that only notify you when it actually matters.
1. Setting up the Arqut REST Command
First, we need to tell Home Assistant how to “talk” to the Arqut API. Open your configuration.yaml file and add the following rest_command.
Important: Replace
YOUR_BEARER_TOKENwith your actual Arqut API key. You can get one from https://my.arqut.com.
# configuration.yaml

rest_command:
  arqut_send_notification:
    url: "https://api.arqut.com/v1/notification/send"
    method: POST
    content_type: "application/json"
    headers:
      Authorization: "Bearer YOUR_BEARER_TOKEN"
    # to: one or multiple Arqut account public_id
    # your_account_public_id: get it from the Profile page of the Arqut mobile app
    payload: >-
      {% set recipients = to | default(["<your_account_public_id>"]) %}
      {% set recipients = recipients if recipients is list else [recipients] %}
      {
        "to": {{ recipients | to_json }},
        "title": {{ title | to_json }},
        "body": {{ body | to_json }},
        "action": {{ action | default("") | to_json }},
        "data": {{ data | default({}) | to_json }}
      }
After adding this, restart Home Assistant or reload your REST Commands from the Developer Tools > YAML menu.
2. Basic Automation: The Motion Alert
Let’s start with a simple automation. This will trigger every time your living room motion sensor detects movement. This is great for debugging or low-traffic areas.
# automations.yaml

automation:
  - alias: "Notify: Motion in Living Room"
    trigger:
      - platform: state
        entity_id: binary_sensor.living_room_motion
        to: "on"
    action:
      - action: rest_command.arqut_send_notification
        data:
          title: "Security Update"
          body: "Motion detected in the Living Room."
3. Advanced: Conditional Logic
To avoid being spammed with notifications while you’re at home, we use Conditions. The following automation only sends a notification if the motion sensor is triggered AND nobody is home (as defined by zone.home having a state of 0).
# automations.yaml

automation:
  - alias: "Alert: Door Opened While Away"
    trigger:
      - platform: state
        entity_id: binary_sensor.back_door_contact
        to: "on"
    condition:
      # This ensures the action only runs if the 'zone.home' count is 0
      - condition: state
        entity_id: zone.home
        state: "0"
    action:
      - action: rest_command.arqut_send_notification
        data:
          title: "Intrusion Warning"
          body: "The back door was opened while the house was empty!"
          data:
            priority: "critical"
4. Nighttime Security (Time-Based)
Sometimes you want notifications even when you are home—specifically when you are sleeping. You can use a time condition to monitor your perimeter during the night.
# automations.yaml

automation:
  - alias: "Alert: Driveway Activity at Night"
    trigger:
      - platform: state
        entity_id: binary_sensor.driveway_camera_motion
        to: "on"
    condition:
      # Only run between 11:00 PM and 6:00 AM
      - condition: time
        after: "23:00:00"
        before: "06:00:00"
    action:
      - action: rest_command.arqut_send_notification
        data:
          title: "Driveway Monitor"
          body: "Activity detected on the driveway camera."
5. Adding Dynamic Data
You can make your notifications much more useful by including sensor states directly in the message body using Jinja2 templates ({{ ... }}).
# Example snippet inside an automation's action

action:
  - action: rest_command.arqut_send_notification
    data:
      title: "Climate Alert"
      body: >
        The living room is getting warm!
        Current temperature is {{ states('sensor.living_room_temperature') }}°C.
Conclusion
By combining the Arqut API with Home Assistant’s powerful automation engine, you can create a notification system that is both informative and respectful of your focus. Remember that smart notifications only notify you when action is required or something is truly abnormal.
Pro Tip: Always test your new automations by manually triggering them in the Developer Tools > States menu to ensure your JSON payload is formatted correctly!